Get Started Riding a Bike
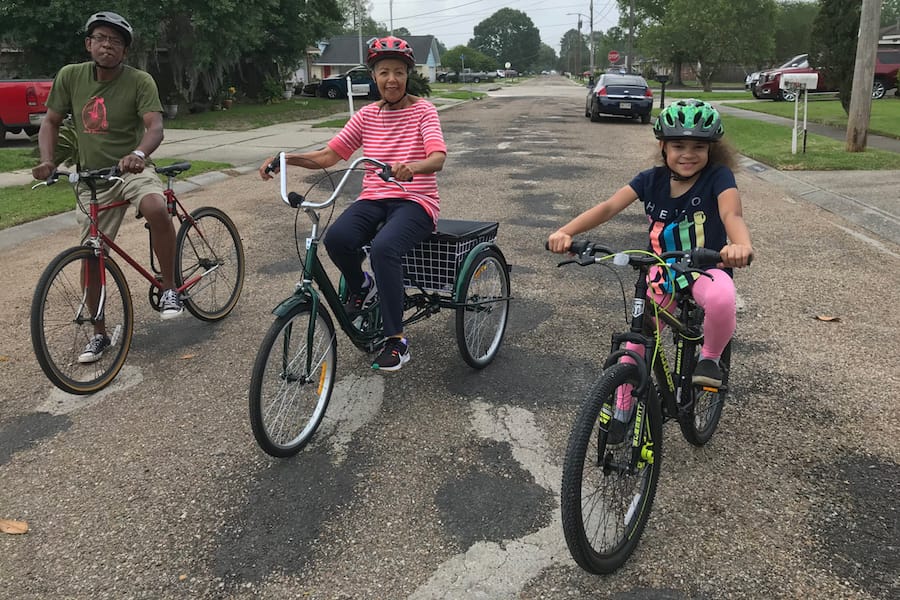
Biking is big in the Jones family. The photo above shows three generations of riders: Grandma Sylvia taught Papa Warren, and Papa Warren taught Jasmine.
They have generations of experience (and patience) when it comes to teaching their family how to ride. But not everyone has that, so we wanted to share some tips to help you or help you teach someone else how to ride a bike.
It doesn’t matter whether you’re just getting started on a bike, haven’t ridden in 20 years and need a refresher, or you’re helping a child or friend to get their balance, these tips and tricks will help you out.
Things You'll Need
- A bike (keep it basic). The bike must fit so that the new rider can put their feet flat on the ground while sitting on the seat.
- A helmet.
- Tools such as allen keys, a crescent wrench, and a pedal wrench to adjust seat height, remove the pedals, change the height of the handlebars, etc.
- Air pump for the tires.
Setting up the bike
- Inflate tires to proper pressure, according to what is printed on the tire.
- Adjust seat height. The new rider should be able to rest their feet flat on the ground while sitting on the seat.
Wearing a bike helmet
Wearing a bike helmet improperly is the same as not wearing a bike helmet at all. Fit the helmet so it’s level on your head, with two finger widths between your eyebrow and the helmet. Do the “eyes, ears, and mouth test” – with your eyes, you should be able to see the top of the helmet, the straps should form a “Y” and meet below your ears, and if you open your mouth all the way, it should pull the helmet towards your head.
Make sure your bike is safe to ride
Use the ABC Quick Check to diagnose any mehcanical issues on your bike before you ride.
A is for air.
- Inflate tires to the pressure listed on the side of the tire
- Use a pressure gauge to insure proper pressure
- Check for damage on tired and replace if damaged
B is for brakes.
- Inspect pads for wear; replace is there is less than ¼” of pad left
- Check pad adjustment; make sure they do not rub the tire
- Look to see that you can fit your thumb between the brake lever handlebar when the brakes are squeezed all the way
- Pull your cranks away from the bike – if they are loose, tighten the bolt
- Check your that your chain is free of rust and gunk
- Make sure your quick releases are all closed
- They should all be pointing to the back of the bike, so that they don’t get caught on anything
- Take a quick ride to check that it is working properly
Safety Reminders
- It’s exciting to learn how to ride but important to know how to stop!
- STOPPING
- Use both brakes
- Keep your weight on the seat until you’re fully stopped
- Keep your feet on the pedals until the bike stops
- TURNING
- Keep inside pedal up and lean into the turn